Skip to main content
Loading...
AMFI Registered Mutual Fund Distributor
About us
Who we are
What we do
Testimonials
Gallery
Services
MF Research
Mutual Fund Trailing Returns
Fund Performance Comparison
Mutual Fund Quartile Ranking
Top Consistent Mutual Funds
Mutual Fund Lumpsum Returns
Mutual Fund SIP Returns
SIP with Annual Increase
Mutual Fund STP Return Calculator
STP Calculator Profit Transfer
Mutual Fund SWP Calculator
Fixed Deposit vs Debt Funds
Top Dividend Paying Mutual Funds
Mutual Fund Historical Dividends
Mutual Fund Annual Returns
Mutual Fund PPF vs ELSS
Latest Nav
Rolling Return vs Category
Rolling Return vs Benchmark
Rolling Return vs Sensex & Gold
Calculators
Become A Crorepati
SIP Return Calculator
Retirement Planning Calculator
Asset Allocation Calculator
EMI Calculator
PPF Calculator
Employees PF Calculator
Goal Setting Calculator
Composite Financial Goal Calculator
Children Education Planner
Networth Calculator
Compounding Calculator
Spending Less Calculator
Future value Calculator
Human Life Value Calculator
SIP Step Up Calculator
Goal Planners
Dream home
Wealth Creation
Retirement
Child's Education
Child's Wedding
Emergency
Contact Us
Login
SignUp
Gallery
Home
Gallery
Investor Education
Mutual funds Blog
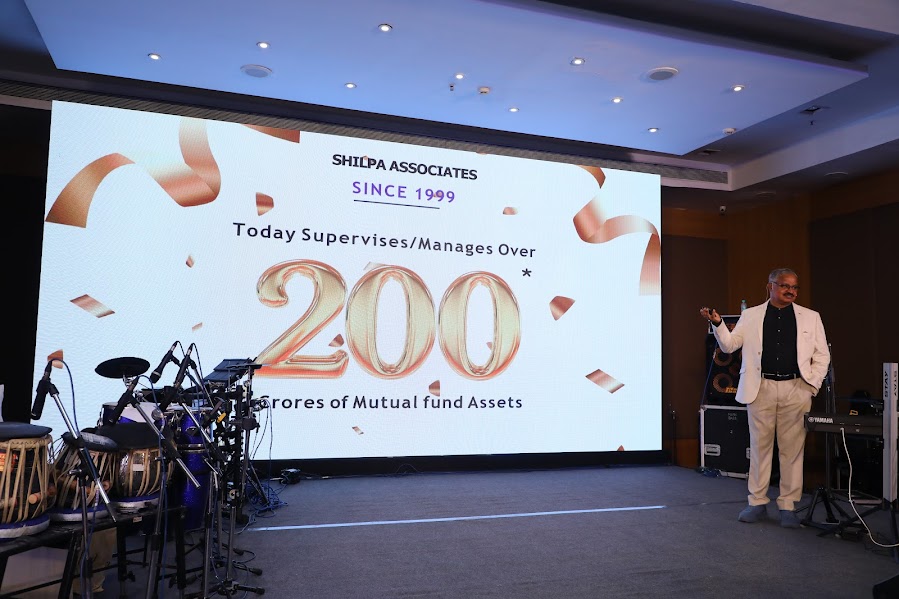
Silver jubilee 2024